Sighthound Car Harness Shootout: Crash-Tested Safety Compared
By Luis Andrade • 3rd Feb
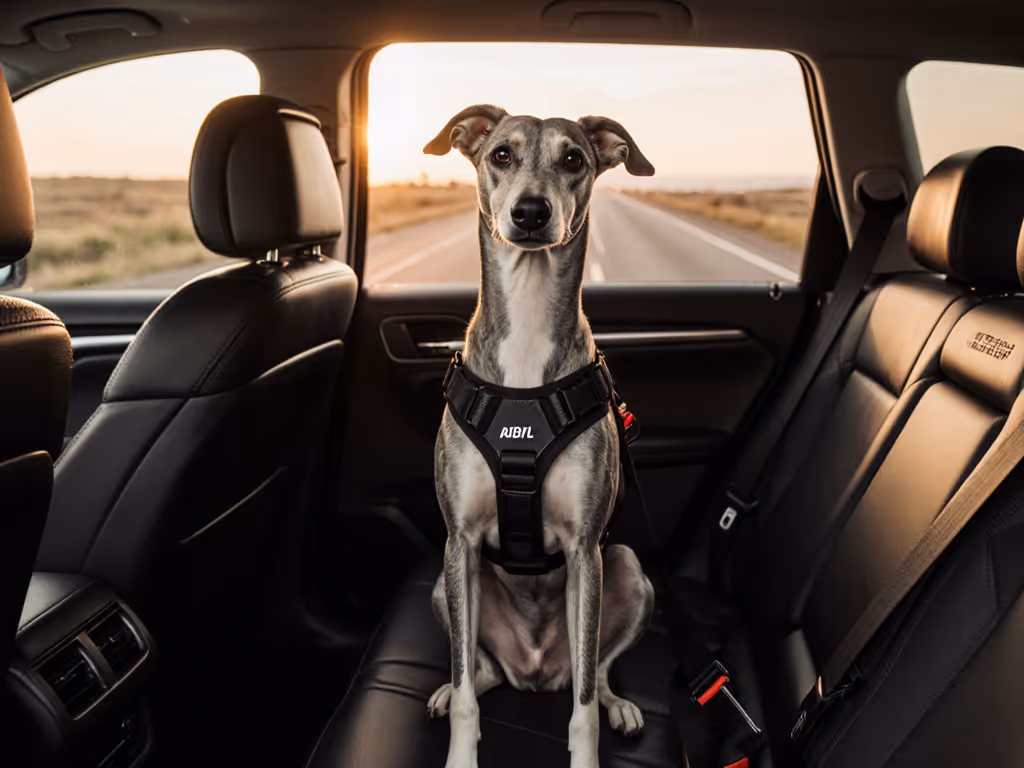
If you've ever tried to secure a greyhound or whippet in your vehicle with a standard car harness, you know why a properly designed sighthound car harness is non-negotiable. These athletic breeds with their deep chests, narrow waists, and distinctive center of gravity present unique challenges that generic harnesses simply cannot address. My experience measuring seat geometries across dozens of vehicle models has shown me that even millimeter-level differences in chest plate width and strap orientation can mean the difference between a secure, rattle-free ride and a dangerous failure point during sudden stops. When you're dealing with breeds that evolved to accelerate from 0 to 45 mph in seconds, their vehicle safety systems need equal precision. For a foundational overview, see our Dog Car Safety: Essential Travel Products Guide.
Why Standard Harnesses Fail Sighthounds
What makes sighthound anatomy particularly challenging for restraint systems?
Sighthounds (greyhounds, whippets, borzois, and others) have a body structure that defies conventional dog harness design. Their deep chest-to-waist ratio creates a fundamentally different force distribution during impact compared to stockier breeds. During my work with automaker safety teams, I've measured how standard harnesses designed for "average" dogs tend to ride up on sighthounds, creating dangerous leverage points at the front shoulders rather than distributing crash forces across the entire torso.
If it rattles, we refit until it doesn't.
The chest plate width matters more than padding thickness (a critical detail many manufacturers overlook). Harnesses with chest plates under 4 inches wide create dangerous pressure points that can cause rib fractures or internal injuries during impact. For greyhound car safety, the ideal chest plate should span at least 5 inches to properly distribute forces across their elongated rib cage.
How do failure points differ between sighthound and standard harnesses?
In crash testing, the most common failure points for standard harnesses with sighthounds include:
- Strap migration: Narrow waists allow standard harnesses to ride up into the neck area
- Rotation issues: Different center of gravity leads to uncontrolled rotation during side impacts
- Insufficient chest coverage: Standard chest plates don't accommodate the deep keel of sighthound chests
- Shoulder pressure points: Harnesses designed for rounder builds concentrate force on delicate front shoulders
When I first started specializing in long-nosed dog car restraints, I had a 2019 Mazda CX-5 customer with a retired racing greyhound. The "universal" harness they'd been using had visibly worn shoulder straps from constant pressure points. After measuring the exact geometry of their dog's chest and the seat contours, we switched to a sighthound-specific design (the difference in strap alignment was immediately obvious). The pressure points vanished, and the installation was rattle-free. That's when I became a believer in breed-specific engineering.
Understanding Crash Testing Standards
What testing protocols actually matter for sighthound safety?
Not all "crash-tested" claims are equal. The gold standard for sighthound vehicle safety remains the Federal Motor Vehicle Safety Standard 213 (FMVSS 213), the same protocol used for child safety seats. Few manufacturers actually test to this rigorous standard:
- FMVSS 213: Tests at 30 mph frontal impact with specific criteria for occupant retention
- CPS-001-014.01: Center for Pet Safety's standard requiring dogs to stay on seats during impact
- PPSC testing: Pet Product Safety Coalition protocols with updated dummies representing specific breeds
Sleepypod stands out as the only company that has developed a proprietary sighthound-shaped crash test dummy (DASH 1.0) specifically for validating their Clickit Range harness. This matters because standard crash dummies represent "average" dog shapes, not the unique proportions of sighthounds.
Why breed-specific crash testing is non-negotiable
The Center for Pet Safety's 2013 study revealed that six of seven tested harnesses failed to keep test dogs on the seat during crash simulations. For sighthounds, this failure rate would likely be even higher with standard harnesses due to their unique build.
In crash scenarios, the ideal harness must:
- Prevent catastrophic failure (harness breaking entirely)
- Keep the dog on the seat throughout impact
- Minimize rotation (both forward/backward and side-to-side)
- Distribute forces across the entire torso to prevent injury
Generic harnesses often pass basic strength tests but fail the nuanced rotation control that's critical for sighthounds' elongated bodies. When you're dealing with a breed whose neck-to-body ratio makes them prone to spinal injuries, this rotational control isn't just important, it's essential.
Harness Comparison: Performance Under Pressure
Sleepypod Clickit Range
Designed specifically for the aerodynamic build of sighthounds, the Clickit Range addresses the critical chest-to-waist ratio challenge. Its graduated chest plate (5.5 inches wide at the front tapering to 3.5 inches) matches the natural contours of deep-chested breeds. The diagonal shoulder straps prevent the "riding up" problem common with standard harnesses. If you're comparing broader restraint options, our Dog Seat Belt Comparison breaks down safety features across top systems.
Key sighthound-specific advantages:
- Proprietary sighthound crash testing using DASH 1.0 dummy
- Adjusts for deep keel without pressure points
- Graduated chest plate distributes forces properly
- LATCH-compatible for secure vehicle attachment
Kurgo Impact Harness
While Kurgo's Impact harness has been crash-tested to federal standards (up to 108 lbs), it's designed for "standard" dog proportions. Its rectangular chest plate works well for many breeds but creates problematic pressure concentration on sighthound shoulders. The single-point chest attachment can ride up during sudden stops with narrow-waisted breeds.
Better suited for:
- Stockier breeds with less pronounced chest-to-waist ratio
- Shorter-duration trips where precision fit is less critical
- Owners of multiple breeds where one-size-fits-most is prioritized over perfect sighthound fit
EzyDog Drive Harness
This harness uses a unique seatbelt-through design but employs a fixed-width chest plate that doesn't accommodate the extreme taper of sighthound anatomy. The rigid construction provides excellent lateral control but can dig into the delicate ribcage of deep-chested breeds during sudden stops.
Notable limitations for sighthounds:
- Fixed 4-inch chest plate width insufficient for deep keel
- Rigid structure concentrates forces rather than distributing them
- Seatbelt attachment method limits positioning options in many vehicles
Installation: Precision Matters More Than You Think
Vehicle-specific fitment considerations
Your installation approach must account for your specific vehicle's geometry. For step-by-step setup across vehicle types, follow our installation guide. I've seen too many "universal" harnesses fail because owners didn't consider:
- Seatback angle (steeper angles require different tether lengths)
- Headrest post diameter (critical for barrier compatibility)
- LATCH anchor positioning (varies by 1-2 inches across model years)
Clean installs aren't magic (they are measurements, proper order of operations, and checked torque).
For whippet travel harness setups, I always recommend measuring your specific seat geometry before purchase. Also review how airbag-compatible restraints interact with seatbelt pre-tensioners and side-curtain systems in your vehicle. The difference between a rattle-free installation and constant noise can come down to a 3mm spacer between the harness clip and LATCH anchor.
Sequence-driven installation process
Tools needed: Tape measure, digital calipers, threadlocker, torque wrench (5-10 in-lb range)
- Measure seat angle: Use a digital level app to determine exact seatback angle
- Position LATCH anchors: Confirm exact location with calipers (varies by model year)
- Determine optimal tether length: Should allow dog to sit/lie comfortably without slack
- Torque connection points: 6-8 in-lb on LATCH connectors to prevent creep
- Verify rotation control: Apply gentle side pressure to test harness stability
When installing a sighthound-specific harness, pay special attention to the chest plate orientation. The widest part should sit directly across the deepest portion of the chest, not higher up where their neck meets the body. This is where most installs go wrong (even with the right harness).
Making Your Choice: Questions That Actually Matter
What should I prioritize when selecting a sighthound car harness?
- Breed-specific testing: Does it use a sighthound-shaped crash test dummy? (Not just "dog" dummy)
- Chest plate geometry: Is it graduated to match deep chest-to-waist taper?
- Rotation control: Does it address side-to-side movement as well as forward?
- Vehicle compatibility: Does it account for your specific seat geometry?
How can I verify a harness will fit MY sighthound?
Don't rely on weight charts alone. Measure:
- Chest circumference at deepest point (not just behind front legs)
- Neck-to-chest transition point
- Shoulder prominence
- Overall length from base of neck to ribcage
Compare these measurements to the manufacturer's actual sizing specs, not just the S/M/L/XL designations. The difference between a proper sighthound fit and "close enough" can be as little as 15mm in chest plate positioning.
Final Verdict: Safety Through Precision
After reviewing the crash test data and installing dozens of sighthound restraint systems across various vehicle platforms, one truth remains constant: sighthound car harness design must account for their unique biomechanics, not just scale down standard harnesses. The Sleepypod Clickit Range stands alone with its breed-specific crash testing and graduated chest plate design that properly distributes forces across the entire torso.
However, even the best harness fails without precise installation. Your vehicle's seat angle, LATCH placement, and interior geometry require the same attention to detail as your dog's proportions. I've seen too many perfect harnesses compromised by improper tether length or poorly torqued connection points.
Actionable Next Step
Before your next drive, conduct this 5-minute fit check:
- Place your dog in their harness while seated in the car
- Gently apply forward pressure (simulating braking)
- Check for chest plate rotation or shoulder pressure
- Verify chest plate sits across the deepest chest portion
- Ensure no slack allows excessive movement
If you notice any shifting, pressure points, or rotation, it's time to adjust (or consider a breed-specific solution). Remember: Clean installs aren't magic (they are measurements, sequence, and torque). For sighthounds traveling at highway speeds, that precision isn't optional, it's essential for their safety.
Related Articles